Easy Solid Edges!
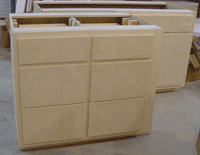
We recently constructed Kitchen Cabinets in our shop and we would like to share the technique we used to finish the edges of our doors and drawers. We used a board with a veneer covering. Instead of opting to use a store bought veneer edging we build solid maple edging that will match the veneer on our project.
Time Saving Set Up
We used two routers with Butterfly Spline bits, one to cut the veneer material and one to cut the solid edging.
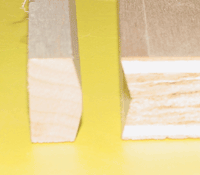
This saved us a lot of set up time. If you are using one router, cut a sample of the solid edging, check the fit, and then finish cutting all of this edging before you change any set-up. We used one sheet of plywood for the drawer fronts so the grain would match on all drawers.
Cutting The Veneer Side Edges
Set up the Butterfly Spline bit so that the point on the cutter is exactly centered on your material. Place the table fence over the bit and make a sample cut. Adjust the fence so the veneered edge comes to point. Make sure all the material is cut face up.
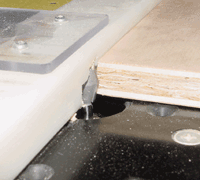
We only cut the side edges at this point. After the solid edges are glued into place then we will cut the top and bottom edges. In doing this we will not have any exposed corners when the drawer is open.
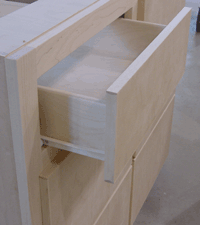
Milling the Solid Side Edge Strips
The thickness of the edging is very important. Plane your material so that it is slightly thicker than the veneer material. Later we will sand this flush with the veneer.
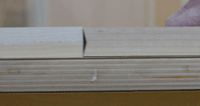
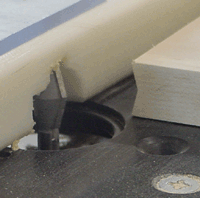
Lower the Butterfly Spline bit so that the center point is now flush with the base plate.
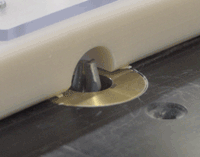
Make the first cut with your solid edge piece, turn the board over and run the piece again. Check the fit on the veneer material to be sure there is solid material on both sides.
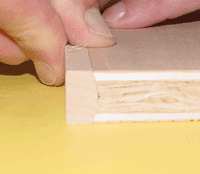
When satisfied with the fit, mill all of the solid edge pieces.
Our finished drawers will have a 1/8” exposed edge on all four sides. We used a wide board of maple and cut both sides, then ripped strips approximately 1/4” or 5/16” wide on the table saw.
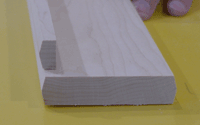
We will re-cut them later so that only 1/8” material remains exposed. In doing this any chipped edges will be cut off when trimmed. If you want a wider exposed edge simply rip the strip wider.
Gluing the Side Edge Strips
Cut the solid strips slightly longer than required for the doors and drawers. Glue and clamp so that one end is flush and trim the other end on the radial arm saw once the stick has been sanded smooth with the veneer.
Cutting The Top & Bottom Edges
We will set our Butterfly Spline bit to the original position (the point of the bit is centered on the veneer material).

Cut both the top and bottom of the drawer fronts. Flush one end of the solid edging, glue and clamp into place. Sand smooth. The long edges will be trimmed off next.
Sizing The Fronts
To trim the long edges, lay the flush edge against the table saw fence, rip the opposite side so that 1/8” solid material is left. Turn the material around and trim the other edge the same. Now trim the top and bottom edges the same.
Tips
When matching the grain on the door and drawer fronts of a cabinet, cut the width of the veneer material 1 – 2 inches wider and 3 –4 inches longer than the finished sizes.
Cut the length of the door from the top of the sheet and set the remainder aside to be cut later for drawer fronts.
Finish the doors first and mount them on your cabinet complete with hinges. Now you can finalize the width of the drawer fronts. Align the grain pattern before cutting to size.
