Making An Inlay Template
Do you have a favorite ceramic tile or item you would like to place as an inlay in a project. Today's tip shows you how to take this item and make a perfect inlay template.
What Is Required
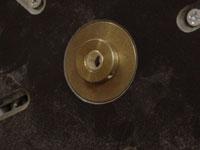
We are using a circular shape but you can use any shape the only restriction is the inside curvature has to be 1” in diameter to allow for the brass bushing.
We are also using a 7/16” guide, 1/4” bushing and 1/4” bit to make our template out of 1/4” masonite.
Making The Pattern:
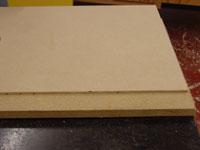
Double stick tape and/or clamp masonite to a piece of scrap material so that when you cut your template it does not cut into your table.
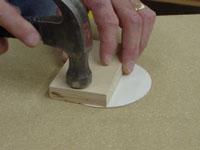
Using double stick tape, attach the shape you wish to copy on to the masonite.
Making The Inlay:
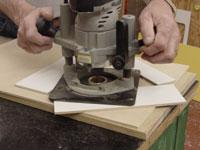
Use a 7/16” guide, set the depth of cut to the thickness of your material. Cut through the masonite moving in a counter-clockwise direction. We used shims around our design to help support the base of the router as we cut.
![]()
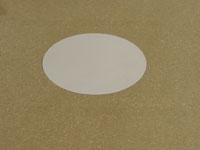
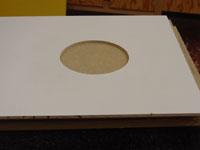
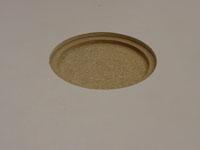
We now have our inlay template.
Cutting The Recess:
Attach the template to the finished material with double stick tape and/or clamps.
Tighten the 1/4” inlay bushing on the 7/16” guide
Set of the depth of cut to the thickness of the inlay material

Cut the recess. Once you have gone all around your design you will need to rout back and forth in the middle to clean out the inside.
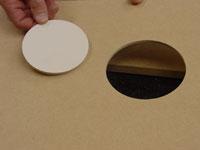
Inserting The Inlay
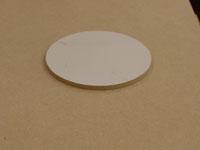
Insert the inlay into your material. Glue and clamp into position.