Moldings With A Router!
Making moldings for your project is commonly done with the router. Understanding the process is another matter. What can there be to making moldings? Cut the material to size, set up the router bit and cut the moldings, right? Picking the profiles is a tip for another day.
What we have found is that it is better to change the order of operations for moldings. Cut the molding on a wider board and then rip to size. We do this for safety reasons and it prevents chatter that can occur when molding narrow strips. It also avoids the process of preplanning and figuring how to make your router profile and molding width match the desired finished molding position.
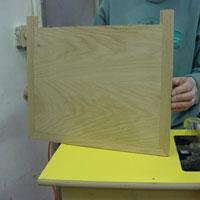
Step 1 û Size The Material:
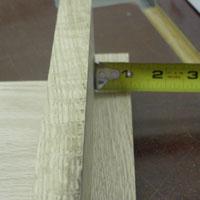
Rough cut the material into longer and wider strips than necessary to compensate for miter cuts, end snips from the router bit and end checking. Make sure the material is straight and warp free. We usually add 1 ¢ö to the length of our moldings.
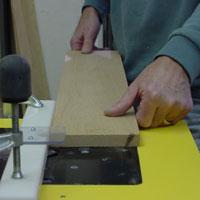
Step 2 û The Set Up:
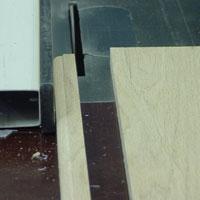
The router bit is set to the proper height and the fence is positioned with the chip break made to match the profile.
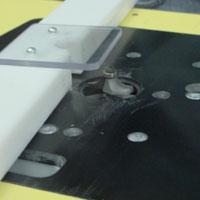
Cut the moldings on both sides of your board.
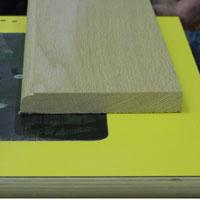
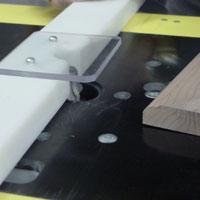
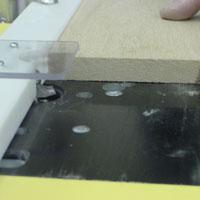
Step 3 û Ripping To Size:
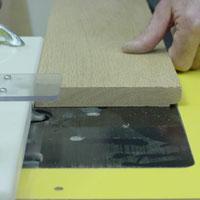
The final operation is using your table saw to rip the moldings to the correct width.
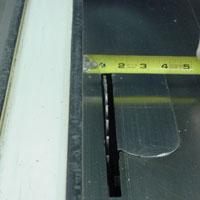

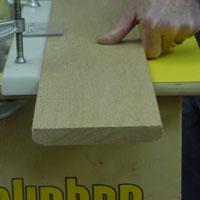
This operation will be alternated between the router and table saw. Mold both edges of the piece then cut the moldings off, repeat until you have the desired amount of moldings or run out of material with width support. As a rule of thumb we do not recommend molding material less than 2” wide.
.
Bedside Table Molding
Another example using this technique is the molded bedside table top. Here we made the T molding then mitered and glued the T molded piece to the tabletop before molding the outside edges. Again, the T mold is longer than the finished size.