Trimming Laminate Edges!
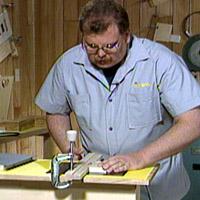
On "the Router Workshop" we built a square coffee table with expanding wings. This is a unique project, a square table with four pullouts! Today's tip is about how to trim the core and laminate before the Oak edges are applied. This method will be useful any time you are trimming laminate edges!
Apply The Laminate:
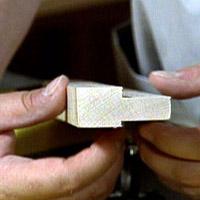
We have cut the plywood core to the exact dimensions required for the plastic laminate surface of the square table. The plastic laminate is cut to size 1/8” larger all around than the cores. This will leave a 1/8” margin on all four sides. The plastic laminate is glued to both the top and bottom surface.
Special Fence:
How do we cut both pieces of the plastic laminate easily and accurately? To flush trim both of the laminate covers at the same time we used a shop-made fixture. This fixture was really a thin fence with a 3/4” half hole to accommodate the flush trim bit. Next we cut two-3/4” rabbets along the top and bottom of the fence on the same side as the 3/4” half hole. Be sure the depth of the rabbet cut is thicker than the laminate you will be using.
Positioning The Fence:
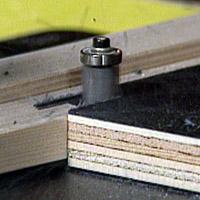
First chuck up a 1/2" flush trim router bit. To get the fence in the correct position we need to have the out-feed and in-feed of the fence even with the cutting edge of the router bit.
It is easier to set the fence if we use the bearing of the bit instead of the cutting edge. Set the height of the router bit so the bearing is equal to the middle of the fence. Clamp the out-feed side and position the router bearing into the 3/4” hole.
Next place a piece of straight material across the in-feed and out-feed and move the fence until the bearing of the router bit touches the straight piece of material. Clamp the in-feed side of the fence in place.
Check The Set Up:
Raise the router bit so that the bearing is not being used. Now make the cut, be sure that this set up only cuts the plastic laminate.
Have fun,this is a great way to trim plastic laminate and will allow you to add an Oak finished edge!