A Simple Hinge Pattern!
You can turn your router into a more effective tool with the use of a shop made pattern. Understanding the dynamics of this process requires three things;
- Calculating the difference between the outside diameter of the guide and the diameter of the router bit;
- Providing support for the bearing/guide at the start and end of each cut;
- Using the correct direction of feed.
Today’s router tip will demonstrate the steps needed to make a simple hinge pattern.
The dynamics of a simple pattern:
In today’s example we are going to make the pattern to position the hinges for a door. The tools needed to make the pattern are: the hinge (as the pattern), small sticks (as pattern locators), the flush trim bit and brass spacer bars (to compensate the space between the outside diameter of the guide and the outside diameter of the cutter).
Making The Pattern
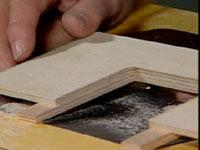
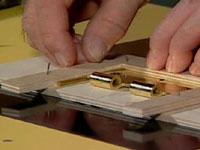
Step 1:
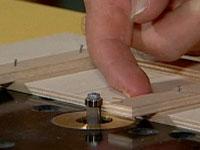
To locate the back position of the pattern, use the hinge as a guide and nail the pattern stick tight to the hinge. See the photo showing the hinge and back stick location of the pattern.

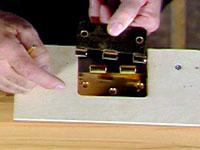
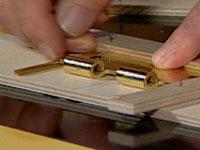
Step 3:
Now we need to make sure that the right side is positioned with the correct compensation for the outside guide diameter and the outside cutter diameter. We are going to use a ½” diameter guide with a 3/8” diameter bit to cut the hinge recess. Therefore our final pattern must be 1/8” longer than the length of the hinge. The difference between the guide and the bit is 1/16” but we are making two passes, which will total 1/8”. Use the 1/8” brass bar between the hinge and the right side stick locator. Nail in position. See photo:
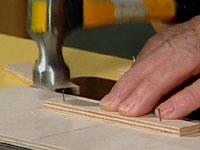
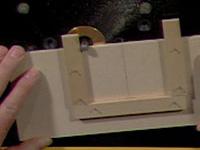
Step 4:
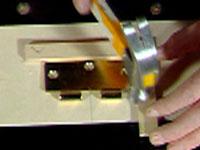
Use the flush trim router bit to cut the pattern. Notice that the sticks are positioned beyond the pattern for both the in-feed and out-feed side of the pattern. The reason for this is to allow the bearing to contact the sticks for support prior to cutting the pattern. It is very important to give the moving router bit a place to start and finish.
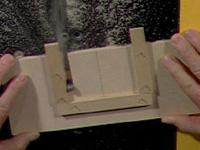
Step 5:
The correct direction of feed is very important, always move into the cutting rotation of the bit. Follow the sequence of the photos below.
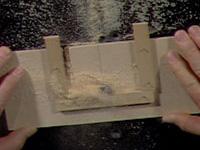
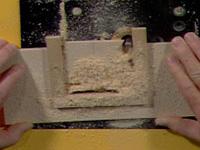
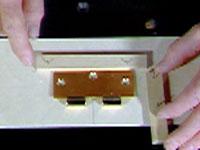
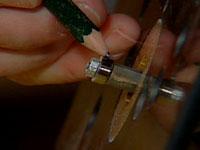
The End Results
Here are the results of the simple hinge pattern. See photos below: