Dados & Grooves In Drawers.
This tip is addressing the important points to making the groove in the bottom of the drawer.
We will be discussing the following:
- What is the difference between the dado and groove and why this is important?
- What is the correct position of the groove for the drawer bottom?
- What is the depth of cut?
- How to pair the parts?
- How to use plunge forming bits to make grooves?
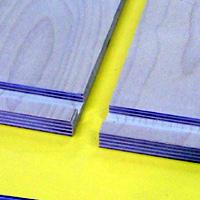
Difference between the dado and groove:
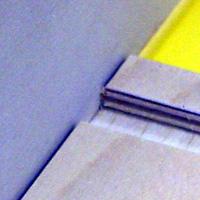
Before we start we are going to discuss the similarities and differences of the dado and groove joint. These joints are set–up and cut with exactly the same procedure, the difference is the groove is cut with the grain and the dado is cut across the grain. This is important because the joints cross paths with the dado in the back of the drawer and the groove in the bottom of the drawer. The order of cut will determine the finish in the bottom corner of the drawer.
Do you know what cut to make first?
Do we cut: 1) the dado which cuts across the grain or 2) the groove which cuts with the grain. Hint: When we mold the outside of a board, the order of cut is across the grain then with the grain. Answer: The dado is made first then the groove is made to prevent tear out in the bottom corner of the intersection of these two joints.
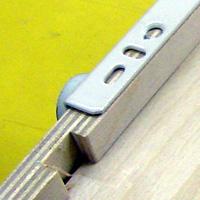
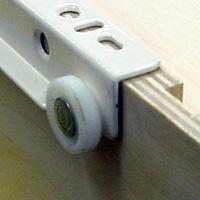
The correct position of the groove:
This is important when using glide hardware because the drawer bottom determines how the hardware will fit and operate. It is important to purchase your hardware before starting to make your drawers. We need to get the specs of drawer size and bottom position before starting to make the drawers for the project.
Depth of cut:
We always use one-half of the material thickness to make it easy to determine the dimension of the parts. If we set the depth of cut on the groove and dado to one-half of the material thickness we can assume that this cut will leave one-half of the thickness. Two side’s times one-half of the thickness equals one whole thickness so to determine the width of the drawer bottom we minus one thickness from the finished width of the drawer, easy right.
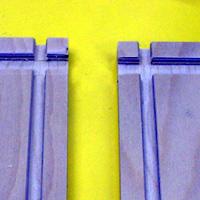
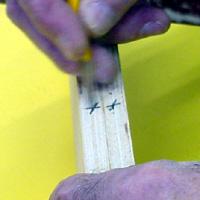
Pairing the parts:
The first cut is the dado for the back then we cut the groove for the bottom.
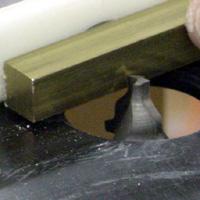
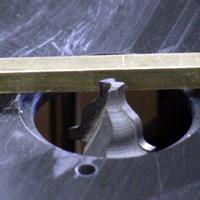
Plunge forming bit to cut grooves:
Plunge forming bits to make a 1/4” groove for the drawer bottom allows the forming bit to slightly round the edge of the groove which allows for easy assembly of the drawer bottom into the groove.