Making A Table Skirt Pattern
The skirt for our coffee table is 4” wide but we want to change the design to 3” at both ends where they butt to the legs. Today’s tip will cover the step pattern design and how to transfer the shape to the finished material.
Project Planning
We used hardboard and double stick tape to make our pattern.
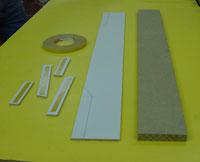
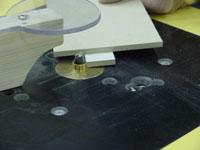
We chose a 1/2” guide and a 3/8” bit to cut the hardboard pattern. This leaves 1/16” between the outside flange of the guide and the cutting edge of the bit. This dimension is the deciding factor when calculating the pattern.
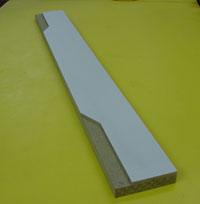
Cutting The Pattern
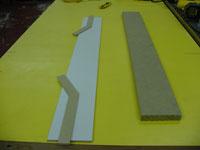
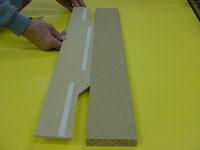
The hardboard was cut the same width (4”) and length of the skirt. The finished width at the ends will be 3”. On the hardboard draw a parallel line 2 15/16” from the top. We went 6 ½” from each end and then 45 degrees to the bottom of the skirt. This will vary on the end skirts.
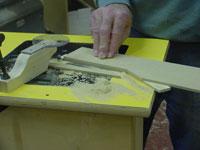
Attach strips of hardboard on these lines using double stick tape. The guide will follow the strips and cut the pattern 3" from the top edge.
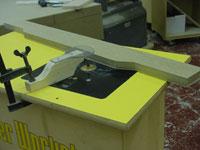
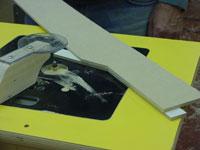
Flip the pattern and cut the stepped profile with the hardboard strips resting on the guide and base plate.
As a safety precaution always use a bit guard when making this cut.
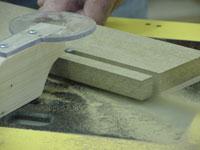
Cutting The Table Skirt
Attach this pattern to the table skirt stock using double stick tape.
Set the height of the bit so it will cut through in one pass. Keep the guide tight against the pattern at all times. Always use a bit guard for protection.