Porter Cable 693 Springs
How to remove the springs of the Porter Cable 693 Springs. These instructions are strictly the opinions of the author and should not refer or reflect those of the manufacturer. Always refer to your owners manual for exploded views of your router and if you don't feel comfortable with these directions do not remove your springs.
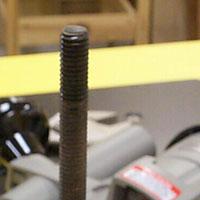
Removing the PC 693 large nut
Step 1: Lay the router on it’s back. The lock is spring loaded so your router will be locked in position.
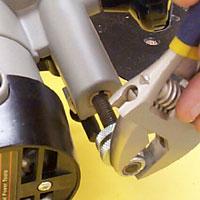
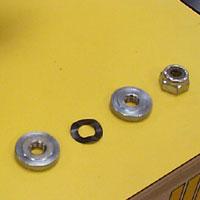
Step 2: Remove the large lock nut, the knurled nut, the waffle washer and the second knurled nut that are at the top of the rod. (See Photos)
Removing the PC 693 base
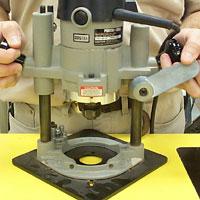
Step 3: Lay the router on it’s back with the lock mechanism face up. With your body against the base plate, and your hands on the router, pull the lock mechanism. The base will press against you and will start to slide off.
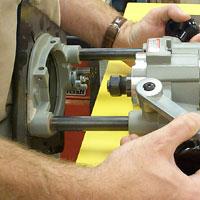
Step 4: When there is no pressure against you, grab the base and pull the base off. The springs will be hanging from the router.
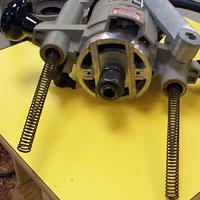
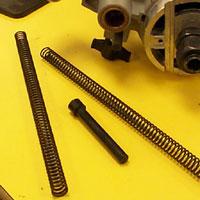
Remove the springs for the PC 693
Step 5: Begin pulling the springs out of the body and as you pull, bend them down a bit. This will grab the black plastic post inside one spring only. The other spring is around the long threaded rod that runs the length of the column shaft.
Re-assemble the PC 693
Step 6: Slide the base back into the router body. The easiest way to do this with this router is in the upright position.
Release the lock handle and then slide the router body over the column. Make sure that the threaded rod slides through the top of the body housing. (There should be a white plastic guard that fits over the hole in the body. This keeps the threaded rod from rubbing against the body itself.)
Step 7: Thread the large lock nut, the knurled nut, the waffle washer and the second knurled nut over the threaded rod and turn them until they are about ¾” from the top of the rod. Tighten with an adjustable wrench. Your Router is now ready to mount into your table and will be much easier to adjust without the springs installed.