Loghouse Corners Using The Spacer Fence
We normally use the spacer fence to create flush fitting box joints for various projects. Today we will use the spacer fence to create a "loghouse" joint on the corners. This is an idea which could be used for bird houses or planters.
Project Planning
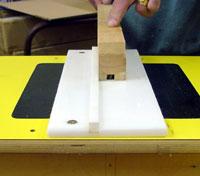
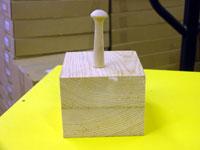
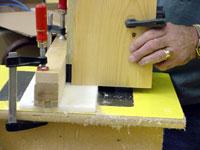
To give the corner a strong "meaty" look we used a 1/2" spiral bit with the 1/2" spacer fence. Because the bit is raised approximately 1 5/8" high we made a special offset block. This is required for support when making the first notch cut on the two end pieces. The special push block is 3" high and is used for support and to prevent tear out when the bit exits the material.
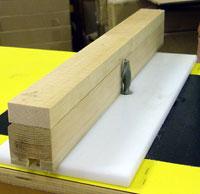
Our material is 3/4" pine. The width is approximately 7 1/4" wide. The four pieces will be ripped later on the table saw so the log joints match.
Making The Cuts
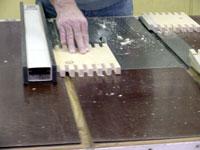
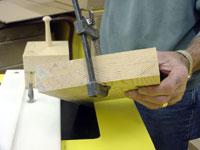
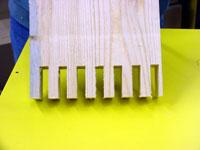
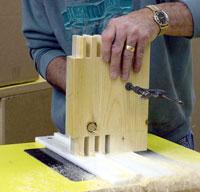
In this case all four pieces were the same length. Clamp two pieces together and mark the side against the poly fence. Raise the bit and make the first pass. We made two passes on each tongue to make sure the joint was cut clean. Cut one end and then repeat the process on the other end.
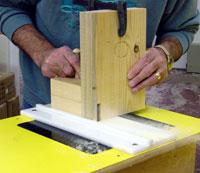
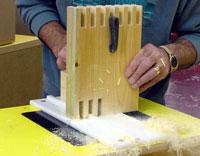
Clamp the offset block over the poly spacer fence so that we can cut the first notch on the ends of the other two pieces. The offset block is used to make two cuts only. Do both notch cuts, remove the offset block and continue cutting.
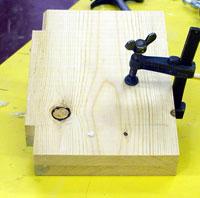
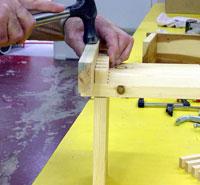
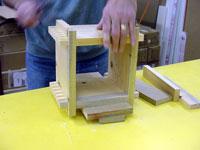
After the tongues have all been cut, rip them to width on the table saw, making sure the marked edge is against the fence. Use a block when pressing the log corners together. We now have a unique corner joint made easily on the 1/2" spacer fence.