Add An Inlay!
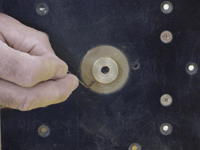
Over 20 years ago Bob designed the Router Inlay Bushing to make inlay work a breeze! Simply install the bushing to cut the cavity and remove it to cut the plug.
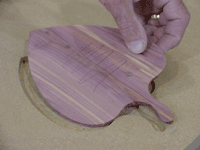
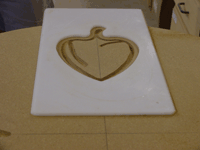
Step 1 Placing The Pattern
Choose the pattern that you would like to use for your inlay. Securely fasten this pattern to the project material where you want the recess cut. This can be done by using a pattern jig or with double stick tape as shown in our Game Table project. Rember, once the pattern is in position it CAN NOT BE MOVED until the cavity is completely routed.
Step 2 Setting The Depth Of Cut
The depth of cut will be the thickness of the plug material.
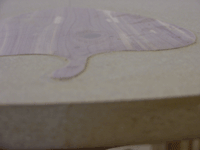
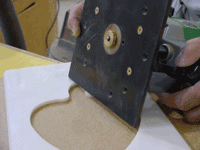
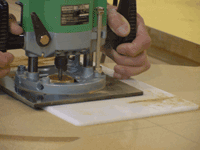
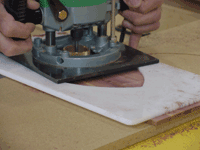
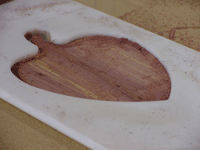
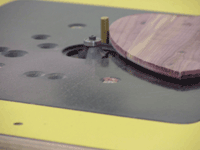
Step 3 Cutting The Cavity
With the inlay bushing in place and the depth set, cut the cavity for your inlay. You will have to remove the chips and sawdust several times during this operation. Chips can get between the guide and the pattern so be sure this cut is clean all the way around your pattern. It is also important that the bottom of the cavity be completely smooth.

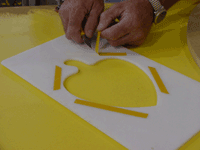
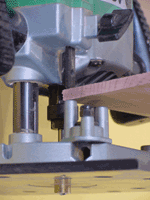
Step 4 Cutting The Inlay Or Plug
Remove the 1/ 4” bushing from the guide using the allen key.

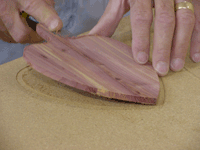
Step 5 Round Over The Plug
Test the fit of the inlay material. To prevent any damage to the square shoulder of the recess cut you will have to "undersand” the back edge of the plug material.
Instead of hand sanding, simply use a 3/16” round over bit to remove the square shoulder on the back side of the plug material. Then a slight touch up by hand is all that is required to get the perfect fit.
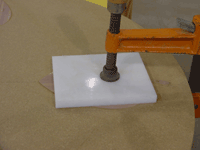
Step 6 Placing The Plug
After the plug has been sanded and dry fitted, glue and clamp into position. We used a piece of poly between the clamp and our project to prevent the glue from sticking.
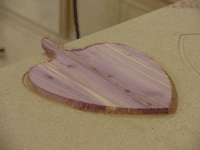
The plug will sit slightly higher so you will need to sand it flush.