Glue Joint Bit
When gluing a number of boards together you can use a glue joint bit which will expand the gluing surface. Sometimes it can be difficult to set up this type of bit to get the surfaces flush. Check out the following tip for some helpful hints.
Preparing The Material:
All material must be planed to the same thickness before using the glue joint bit.
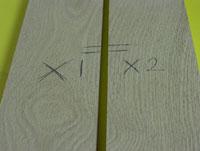
Layout And Set Up
Layout the material and mark the pieces on the face side X1, X2, X3 etc. All odd numbered pieces are run with the X up and even numbered pieces with the X down.
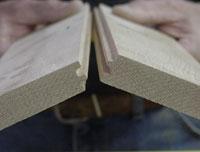
Mark the exact center of your stock.
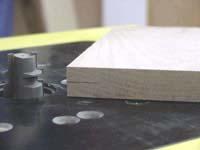
This mark must line up EXACTLY with the center point on the bit.
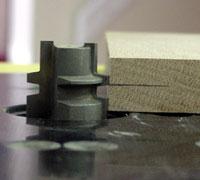
Set up the fence so it is flush with the narrow part of the bit. We suggest using a higher fence because of the height of this cutter.
Use scrap material to run test pieces making adjustments to the bit height until both surfaces are flush.
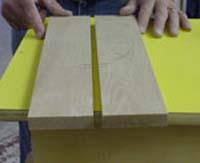
Running The Stock
When joining the wood, one piece is run face up and one is run face down so be sure to mark and pay attention to the X’s on your stock.
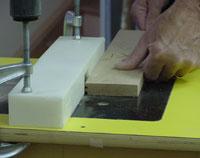
The material MUST be flat to the base plate as it passes the bit in order to get the correct fit.
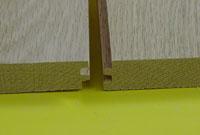
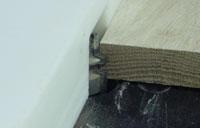
End Results
If your set up is correct the two pieces will fit together flush. This bit can be used for material from 3/4" up to 1 1/8” thick.