Box Joints On An Angle!
Box joints are easy to make and are one of the strongest joints. In this router tip we will show you how to make box joints on an angle like the ones used in the clock project from Series 1 of "the Router Workshop".
The Set-Up
We used a 3/8" spacer fence on the router table with a 3/8" spiral bit. The space between the rail and the router bit must be 3/8". Set the height of the bit the same as the thickness of the stock you are using (ie. 1/2" stock, set the bit height at 1/2"). Use sample wood and run a test piece to check the fit.
You can use any angle you want, just make sure that it is exactly the same on both the front and bottom of your project. On our clock project the angle was approximately 30 degrees.
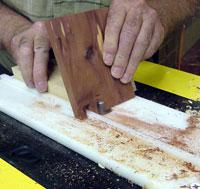
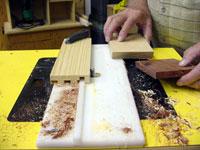
You will also need a push block to keep the stock in position when cutting. This also prevents chip out. The angle cut must be the same on both ends of the push block and it must be exactly the same angle as the ends of the project pieces.
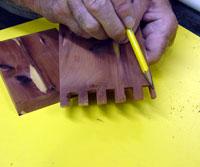
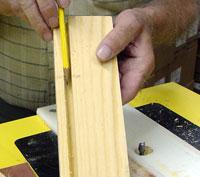
To make sure the box joints match up you need to make a pencil mark on one edge of both the front and bottom piece. Make sure this marked edge is against the rail of the spacer fence when cutting.
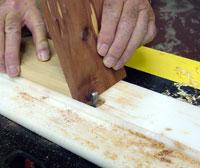
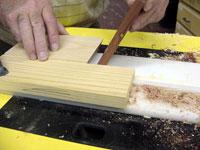
Cutting The Front
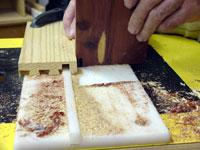
Make the first cut on the front against the rail of the spacer fence. Be sure the pencil mark on the stock is against the rail. Keep the push block tight against the stock. Place this first cut over the rail of the spacer fence and make the next cut, continue moving over until all the finger joints are cut.
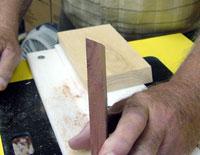
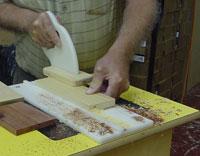
Making The Off-Set Block
In order for the edges to match up on the front and bottom we use an off-set block.
We used a stick 9" long by 3" wide. Keep the edge tight to the rail and cut a slot in the entire length of this piece (use a push stick as shown for safety). You may want to mark it "3/8" sub-fence" and keep it handy for future use.
Place this off-set block over the rail of the spacer fence and CLAMP in place.
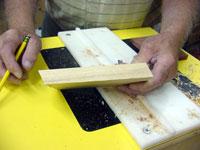
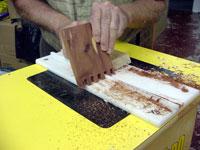
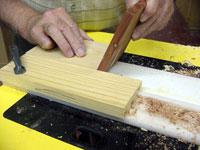
Cutting The Bottom
Now that the off-set block is clamped in place, it is time to cut the matching bottom of the clock. This side can be a little more difficult to cut due to the angle.
Be sure the pencil mark on the stock is against the rail. You will use the opposite end of the push block for this piece.
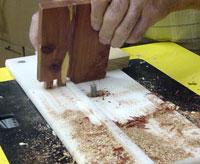
Keep the stock tight to both the push block and the off-set block and make the first cut.
Remove the off-set block and continue the cuts to the end of the stock.
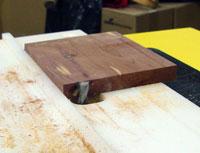
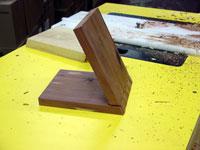
Assembly
Slide the two peices together.
If you are using pieces that are too wide for the box joints to end up equal it is easily fixed, simply trim off the excess.